The South Wing has 23 field guide pages hidden throughout the castle. It is one of six wings that make up the Castle in Hogwarts Legacy. Located on the Southern side of the school it’s accessible via the Grand Staircase. It features a few rooms, notably the Gryffindor Common Room, Hospital Wing, Faculty Tower, Clocktower Courtyard, and Hogwarts South Exit. Each of these locations are easily accessible via the Floo Flame fast travel system.
Hogwarts Legacy Field Guide Page Locations: The South Wing
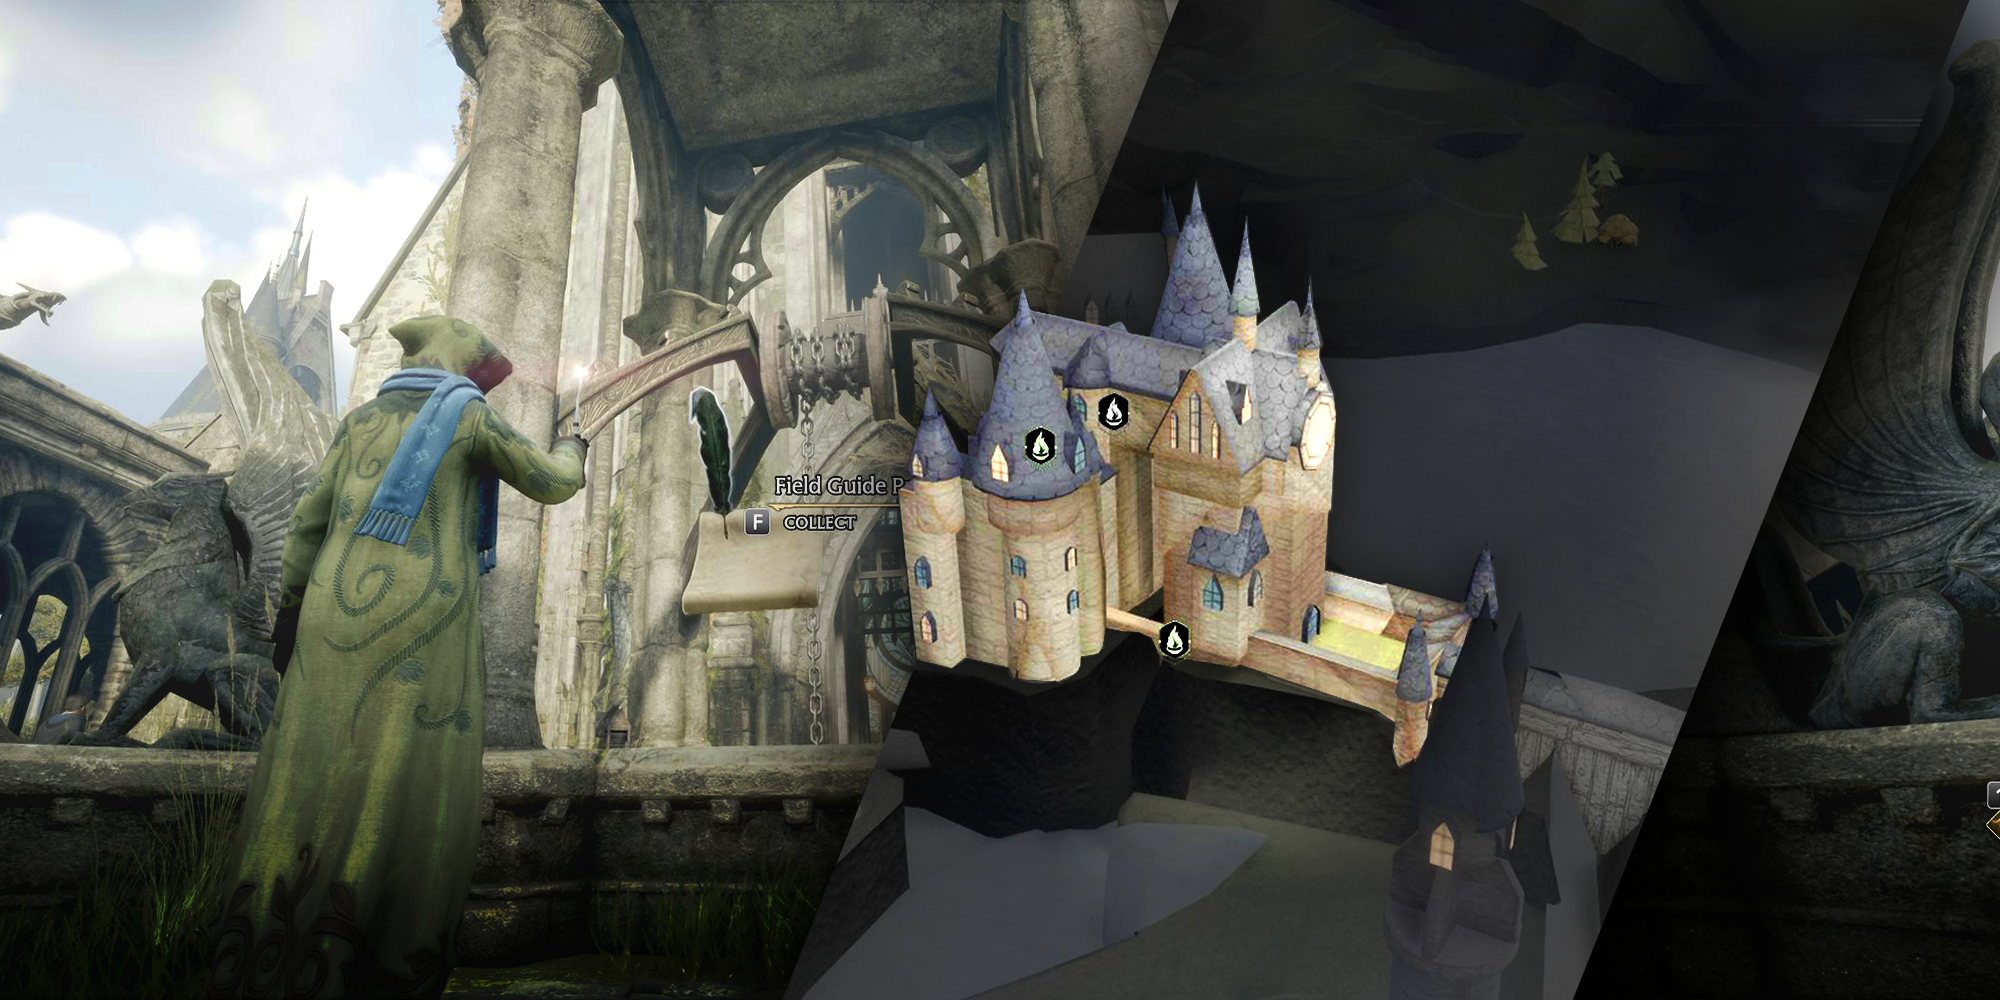
There are a total of 23 Field Guide Pages in the South Wing in Hogwarts Legacy. This guide showcases multiple screenshots of both the map location within Hogwarts and an image of the actual Field Guide page or area where they can be collected in the South Wing. To help with organization we’ve also included which spells you’ll need to use to collect them.
A few of these pages can be collected in the early game during the Crossed Wands Club and Alohomora Quests.
1. Flying Page In The Clock Tower


Accio: Starting at the Clock Tower Courtyard look up to the second floor where the clock pendulum is swinging. There is a flying page circling the South East corner above; cast Accio to bring it towards you and collect it.
2. Moth Painting Courtyard
Alohomora 1, Lumos: Directly beside where Lucan Brattleby of the Crossed Wands Dueling Club usually stands is a locked door requiring Alohomora rank 1. Behind this door is a Moth painting, Cast lumos to reveal the location in the painting. Head outside to the courtyard and turn right, the moth is on a pillar to the right, cast Lumos and bring the moth back to the painting.
3. The Well Of Four Beasts


Revelio: In the center of the couryard there is a large stone structure, this is a well. On the south side of it is the hidden Page. Cast Revelio and collect The Well Of Four Beasts Hidden Revelio Page.
4. Statue By Crossed Wands


Levioso: If you’ve taken the Floo Flame to the Clock Tower Courtyard, you should be staring at a statue in this storage closet. Cast Levioso on the statue to discover this page.
5. Map of Argyllshire


Revelio: Head Northeast from the Clock Tower Courtyard Floo Flame. Across the bridge there is a map on the left wall. Cast Revelio to reveal the hidden Map of Argyllshire Field Guide Page.
6. Hidden Room Moth Painting
Depulso, Lumos: The map mentioned in the step above has a hidden room behind it. Cast Depulso.on the button above it. The Moth Painting is inside where you can cast Lumos to reveal the location in the painting. The next two field guide pages are on the way to get that moth, which is located in the bathroom around the corner to the north.
7. Lachlan The Lanky


Revelio: To the northeast of the Revelio page in step 6, go down a small staircase and turn right. There is a statue of Lachlan The Lanky that has a hidden Revelio Field Guide Page in front of him.
8. Hallway Dragon Brazier


Incendio: Contiuing on from the Revelio page in step 7, there is a Dragon Brazier in the eastern corner of this hall. Casting Incedio or Confringo will light this brazier revealing the Field Guide Page.
9. Haunted Toilets


Revelio: Continue down the hallway, Northwest of the page found in step 8, cast Revelio at the second door. The Haunted Toilets Revelio Field Guide page is in front of it.
10. Portrait Of Baruffio


Revelio: Taking the Faculty Tower Floo Flame, turn left and travel Southwest down the hallway. At the end of the hallway before the spiral staircase on the right is a painting. Cast Revelio in front of it to reveal the hidden Field Guide Page Portrait Of Baruffio
11. Fat Lady Portrait


Revelio: Continuing from the previous step (by the Faculty Tower Floo Flame) go up the spiral staircase at the end of the hallway. Turn left at the top and head Northwest to the end of the hall. There is a painting here; cast Revelio and collect the “Fat Lady Portrait” Field Guide Page.
From here on out collecting Field Guide Pages requires the completion of the Alohomora Questline from Gladwin Moon as he opens the door to these locations for you.
12. Unicorn Fountain


Revelio: At the top level, in the same room as the Hospital Wing Floo Flame is a statue of a unicorn across the room on the Eastern wall. Cast Revelio and collect the Hidden Field Guide Page.
13. Flying Page In The Infirmary


Accio: Travel straight into the infirmary right by the Hosptial Wing Floo Flame. There is a Flying page above in this room. Cast Accio to collect it.
14. Stairway Statue

Levioso: Travel down one flight of stairs from the Hospital Wing Floo Flame. At the base of this spiral staircase, there will be a statue that you can cast Levioso on to reveal a field guide page.
15. Boris the Bewildered

Revelio: On the same level as the Levioso Statue in the Previous step (just beneath the Hospital Wing Floo Flame) is the statue of a bewildered man in a hat. Cast Revelio in front of it to reveal the Boris the Bewildered field guide page.
16. Prefects Bathroom


Revelio: The room to the north, on this level just below the Hospital Wing Floo Flame is a bathroom; go inside and on the left will be a painting of a girl. Cast Revelio in front of it to reveal the hidden page, “Prefects Bathroom”
17. Flying Page In Stairwell


Accio: From the Hospital Wing Floo Flame, go down two flights of stairs. There is a flying page circling the stairwell to the lower level.
18. Jewel-Encrusted Tortoise Shell


Revelio: On the same level as the previous step, just below where the flying page was is a display case in the corner. Cast Revelio to reveal the page.
19. Clocktower Dragon Brazier


Confringo: Access the clock by going down one set of stairs from the Hospital Wing Floo Flame and travel south down a long corridor. Travel along this path and look up to the wall at South corner there will be a Dragon Brazier that requires casting Confringo to light it and Accio to obtain the page.
20. Clock Mechanics


Revelio: From the previous step head back to the fork and travel down to the window with the clock face. There is a Revelio page on this platform when you are facing the clock mechanism.
21. Locked Room Brazier
Images Coming Soon
Alohomora 3, Glacius, Incendio: From the Revelio page found in step 18. Jewel-Encrusted Tortoise Shell, the door on requires rank 3 Alohomora to unlock. Once inside cast Glacius on the fireplace and travel through it. Continue in this room to the end where there is a Dragon Brazier, cast a fire spell to reveal the page.
22. Adventure Novel Set
Images Coming Soon
Revelio: From the Faculty Tower Floo Flame head south and enter the first door to the right (Beside Gladwin Moon). Travel up to the second floor and turn right to unlock a door requiring Level 2 Alohomora. Inside turn right and cast Revelio infront of a bookcase to reveal the page.
23. Statue in the Quad Courtyard
Images Coming Soon
Levioso: From the Great Hall Floo Flame turn right and head through the doors. Stay to the right of this pathway traveling west, pass under a large archway, and you should come upon a Statue on which you can cast Levioso to reveal the final page.
Editor’s Note: Harry Potter creator J.K. Rowling has been accused of transphobia by those in the LGBTQ+ community. Although not directly involved in the development of Hogwarts Legacy, Rowling does stand to earn royalties from the game. We would like to reiterate our support for trans rights and that trans identities are valid. Support services are listed below for trans people impacted by discussions of transphobia.
In the USA:
In Canada:
In the UK:
Share this news on your Fb,Twitter and Whatsapp
NY Press News:Latest News Headlines
NY Press News||Health||New York||USA News||Technology||World NewsTimes News Network:Latest News Headlines
Times News Network||Health||New York||USA News||Technology||World News